To start the box I created a box with a width and length of 50 and height of 10. I then cloned 4 copies and arranged them to create a box shape.
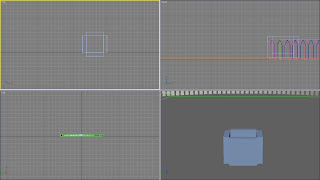 At this point I found the sides of the box did not align properly and so increased their widths to 70.
Afterwards I drew out another box, this time for the lid with a length and width to 70 and the height to 21.748. Then I made it into an editable poly and clicked on the polygon icon. Afterwards I selected all the middle polygons on the underside, opened the extrude window and extruded it to a negative value to create an indent.
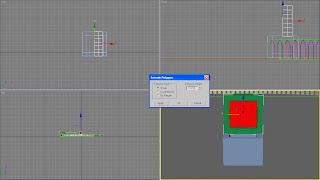 When I was happy with the lids appearance I aligned it with the boxes underneath. I then changed the pivot point and placed it at the back of the lid. This allowed it to open like it was hinged at one point.
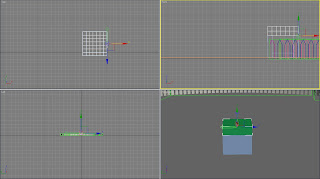 Next I went on to create the hinges. To start I created a cylinder with the radius of 2.103 and length of 7.158. Next I created a second cylinder, this time slightly narrower so that it appeared to be the inside part of the hinge. For this cylinder I set the radius to 1.845 and length to 16.713. I then aligned the thinner hinge in the centre of the first cylinder before cloning the shapes and putting them in place on the box.
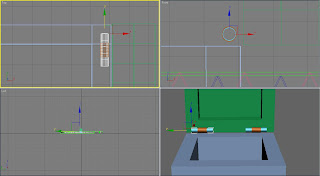 At this point I realised the hinges must go on the outside, otherwise the lid would not be able to close.
 Afterwards I went on to create the section of the hinge which will attach the cylinders to the box. For this I used a box with a length of 9.932, width of 16.945 and length of 0.37. When I was happy with the shape I cloned 3 copies and arranged them either side of the hinges, making sure they touch the boxes.
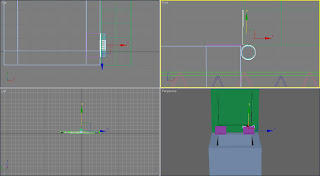 Next I decided to group these objects ready to animate the lid opening. Firstly I selected the lid, two boxes touching it and the shorter cylinder. The second group included the five boxes which created the bottom half of the box, the longer part of hinge and the hinge attachment which touches this area.
I then altered the position of the pivot point for the lid group to the back of the box. I tried to make sure that the pivot point was in the middle of the hinge cylinder so that it would open like a real box.
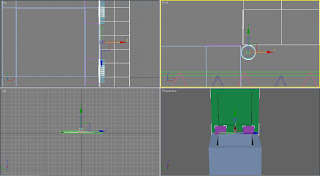 Then I used the rotate tool to see how the lid opening went. I was quite disappointed as when I closed the lid it intersected the bottom boxes. I then realised that I should have positioned the hinges with the lid shut and placed them in the exact middle of the lid and box shutting point. When I tried opening and shutting the lid again it worked well and so decided to continue with the next part.
The building of the box is now complete. Next time I will continue to work on the scene and hopefully complete the animation.
No comments:
Post a Comment