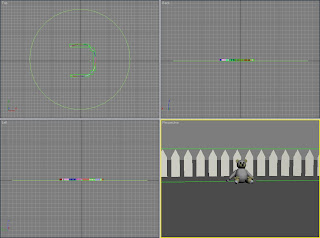
 Then I imported the hat into the scene and used the scale tool to make it a suitable size to put on the bears head. To do this I firstly placed the hat above the bears head and reduced the dimensions along all three axis’s at the same time as I was happy with the shape as a whole when I first created it.
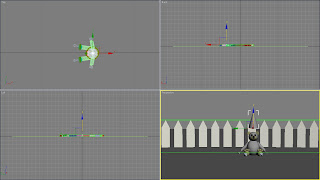 The last thing I did before I started the animation was to rescale the timeline to 30 frames in length so this part of the ident only lasted for one second.
 Before starting the animation I made sure the hat was hovering over the head slightly, but not too high so it did not have a too longer distance to travel. Next I turned on the auto key and went to frame 30 on the timeline. I then lowered the hat so it sat on the bears head.
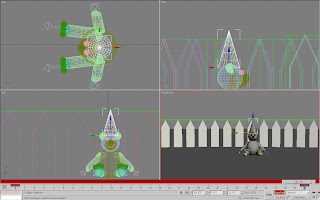 Afterwards I added lighting to the scene. I selected the target spot light and aimed it at the bear. I set the intensity to 1 and turned on the shadows.
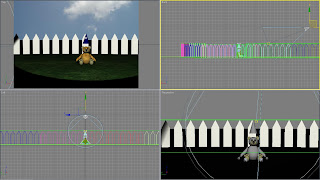 Next I added a camera to the scene. I selected a target camera and positioned it so that the top half of the bear and the hat were in the main part of the shot. It took a couple of alterations to get the shot I wanted.
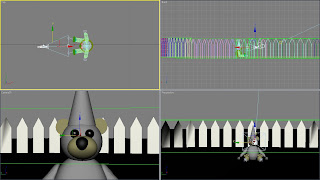
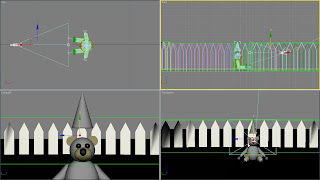 At this point I realised that the hat cut through the bear’s ears when it was placed on his head. To solve this problem I decided to just scale the bottom radius as I was pleased with the height I already had, especially as if I had left the proportions the same it would have been smaller than I had initially planned.
No comments:
Post a Comment