Next I exported all of the play equipment from their individual files and imported each of them into the file where I have drawn out the cylinder.
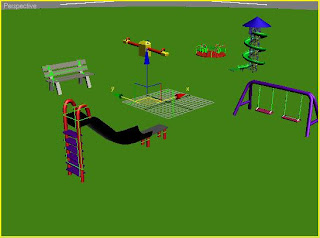 I then placed them all next to each other and used the scale tool to reduce the size of some of the objects so that they were in proportion to each other.
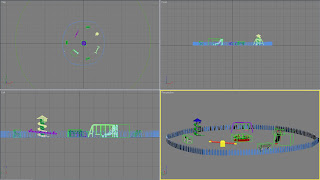
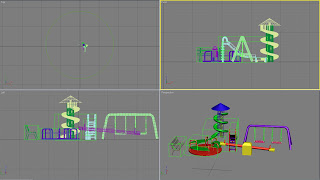 When I was happy with the play equipments size and felt it was in proportion to the ground cylinder I went on to arrange the content as I had planned in my storyboards. Also, I cloned the bench twice and placed them around the edge of the play equipment.
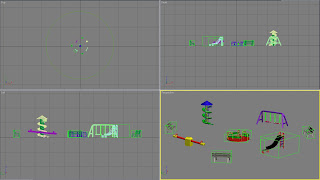 After I was happy with the arrangement I went on to create the outer fence. To do this I used the line tool to create the shape of one fence panel and edited the position of the vertex points until I was satisfied with the shape.
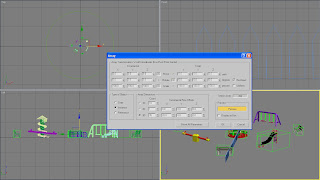
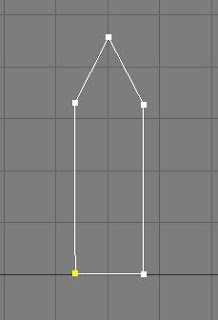 Next I made the spline into an editable poly, selected the polygon icon and extruded the shape to give it a third dimension before capping the open edge. Then I used the array window to create a row of 35 instances of the fence panels evenly spaced. I set the X array dimension to 20 to get the spacing I wanted between the panels.
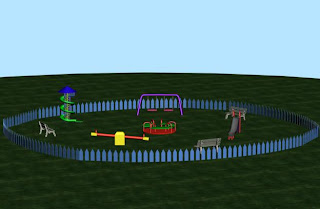
After this I applied the bend modifier to the value of 50 degrees to the grouped fence panels. Next I cloned the fence group and placed them around the play equipment.
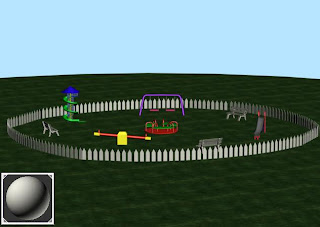
 The last step in creating the background was to apply a material ground. I planned to put the park on a field and so used a preset material as a diffuse and bump map. Despite adjusting the tile size and other settings I also selected the UVW map modifier on which I selected the box mapping parameter to make it appear properly on the surface. I also set the tile size to 10.0 for both of the maps.
No comments:
Post a Comment