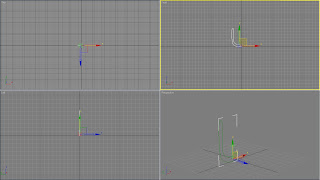
 Next I went to the modify menu and selected lathe from the list. I then increased the number of segments to make this to 30 in case I needed to do more editing later. This formed a reasonably good cup shape, but it was not quite what I was aiming for and so used the scale tool to flatten one of the dimensions.
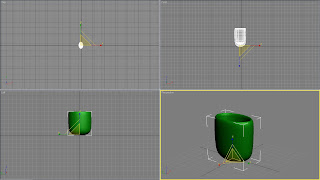 This had gone well and I was quite pleased with the shape I had created and so went on to create the bags flap. However, this did not go as well as I struggled to create the shape I wanted even though I tried several methods. Firstly I used the line tool to create the outline and then extruded it and capped the edge.
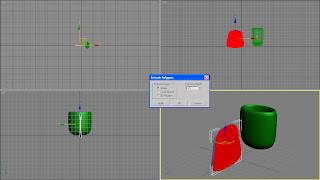 I then created a row of bones and placed them in the lid. Afterwards I went on to edit the envelopes, but this did not go well as I could not get one bone not to affect the whole area.
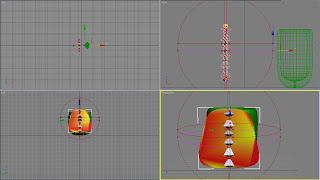 Afterwards I went back to the extruded shape and tried applying the bend modifier. This was also not successful as I could only get it to bend along the opposite axis to what I wanted. I experimented with altering the pivot point, rotating the object around before adding the bend modifier as well as changing the direction of bend in the modifier rollout; however none of these solved the problem.
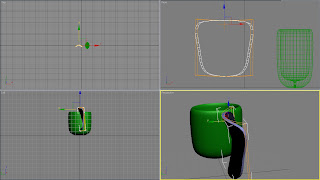 Next I tried drawing out the spline in the curved position I wanted before extruding it.
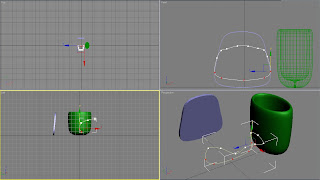 When I made it into an editable poly and extruded it the outcome was not quite as I wanted it as the bend was in the wrong direction.
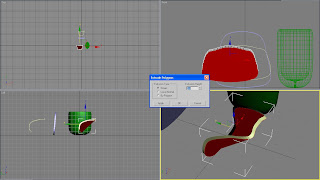 Lastly I went back to the original spline and extruded it 5 times, but in smaller intervals. I then tried the bend modifier again which lead to a better outcome, but it still was not perfect. In the bend rollout I set the amount to 140 and the direction to 90 and sent it along the y axis. Finally I aligned it with the gap at the top of the bag.
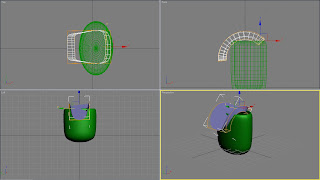 The base of the bag was visible through the flap at some points and I felt the easiest way to resolve this would be to edit the bag. So, I selected the bag and made it into an editable poly, went to the vertex icon and chose the soft selection tool. I selected the vertexes underneath the flap and moved them closer to the back of the bag. This stopped the intersection well.
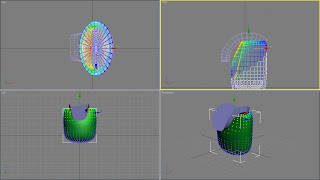 When I was reasonably happy with the lid went on to create straps. I started by creating a box with a length of 9.007, width of 2.297 and height of 90.149. I then increased the number of segments to 50 for all dimensions so I could apply a bend. I set the bend angle to 186.5 as this created a curvature which I felt was suitable. When happy I positioned it on the back of the bag.
Afterwards I cloned a copy of the strap and opened the mirror axis so I could reflect it along the y axis with ease. I then spaced them evenly apart.
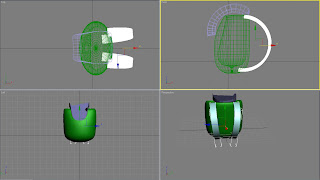 I felt the next step was to apply the materials. Firstly I created the material for the main part of the bag and the straps. I chose to use a bright shade of green for this area as I thought it would fit in with the rest of the scene well and the straps would contrast the buttons of the front of the robot. I selected the blinn shader and applied a specular and gloss level of 10.
 Afterwards I created a blue material for the flap of the bag. For this I also used a blinn shader but this time set the specular to 0 and glossiness to 10. When I applied this to the flap I was unhappy with its appearance as it had blocks of different shades.
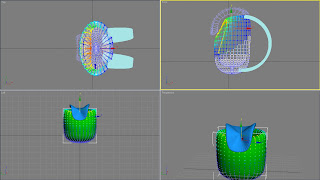
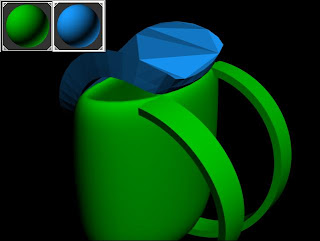 To resolve this I applied mesh smooth to this area. To get a really smooth surface where this did not happen I had to set the iteration amount to 5. Finally I went back to the soft selection tool and on the bag made the top rim narrower again so it was not visible through the flap now mesh smooth has been applied.
No comments:
Post a Comment