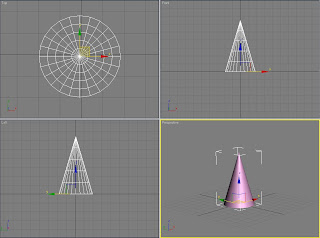
To start this week I needed to create the magician’s hat ready to include in the animations. To do this I used a cone and set the bottom radius to 18.976, top radius to 0 and height the 64.884 as I felt this would create a realistically shaped hat.
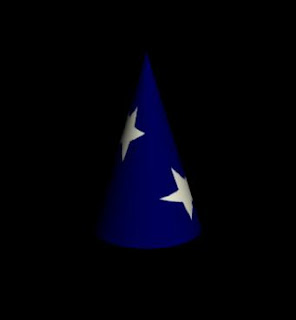
 Next I went on to find the material for the surface of the hat. I wanted this to be what I class as a traditional magician hat material, which would be covered in stars. I looked on the internet to try to find a suitable image to use, however I was unable to find one. So instead I created my own in Photoshop.
 I then applied it as a diffuse map in the material editor with the tile size of 1. Next I selected the UVW map modifier to try to get the best surface coverage, but found not using this at all got a much closer result to what I was looking for.
 When I was happy with the hats material I exported the shape.
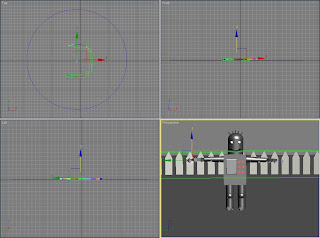
 Afterwards I went on to produce the scene and did this by importing the fence and ground as well as the robot. To make the scene proportional I scaled the robot down. I did not include any of the play equipment in the scene as it was not needed for this part of the ident and was not planned to be in camera view, therefore if included would waste memory space.
 The last thing to import was the hat. Once imported it was much larger than I expected it to be and so needed to scale it down before starting the animation. To do this I firstly positioned it above the robots head so I could make sure it fitted perfectly.
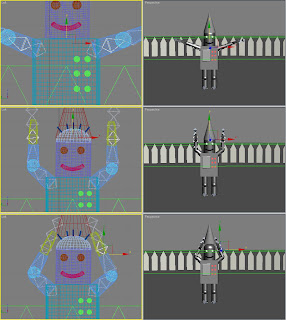
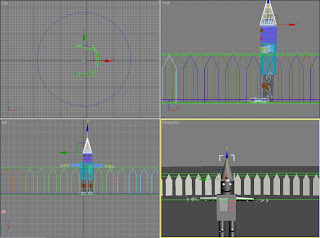 Next I went on to move the bones to adjust the position of the arms to try to make it appear like the character is holding the hat. To do this I firstly moved the upper arms upwards so that the elbows were higher than the shoulders and then bent the lower arms from the elbow. So that the arms were aligned to the starting point I moved the hat above the head slightly.
I then selected the hat and turned on the auto key. On the last frame I used the move tool to lower the hat onto the robots head.
Next I continued to use the auto key at apply movement to the arms. My aim was to keep the hand position at the same point on the hat throughout. I found this quite difficult to achieve and this took quite some time to complete. From doing this I have found that it is easier to adjust the upper arm first before aligning the lower part.
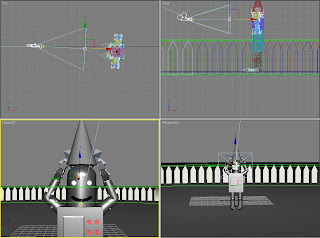
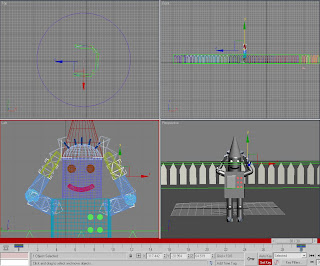 Afterwards I went onto set the lighting in the scene. I selected a target spot light to highlight the robot as this is the focus in this part. I set the intensity to 1 and turned the shadows on. I then used a target camera to select the shot. I was aiming for a close up shot of the robots head and upper body and so placed it so these parts were in the centre of the shot.
No comments:
Post a Comment