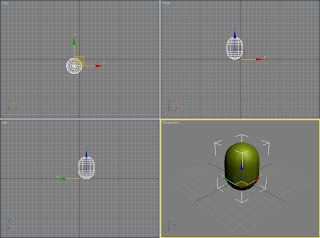
To do this I will use a capsule. I have selected this shape as I wanted it a long, sphere-like shape and also one I could edit easily to get a realistic bears body. Initially I considered using a sphere and moving the sections apart to elongate the middle, however this would prevent me from reshaping the centre part. Therefore I created a capsule with a radius of 20.041 and height of 56.304.
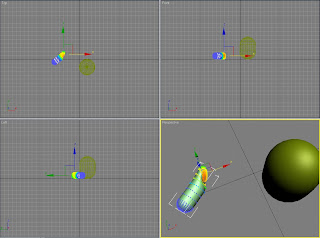
 Next I created the leg. I once again used a capsule, but this time with a height of 44.354 and radius of 6.842. I then increased the number of side segments to 25 and height segments to 6. Following this I made it into an editable poly, and with the soft selection tool created the indent where the leg would meet the body.
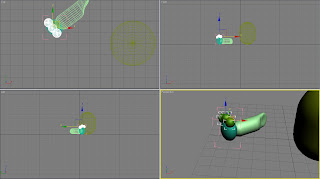
 Afterwards I tried to create the foot. For this I used a sphere with a radius of 8.662 and used the scale tool to flatten it in one direction. Then I drew out a sphere with the radius id 4.262 as this was roughly the new height of the foot. Then I cloned two copies before positioning them on the top of the foot to create the toes.
Finally I grouped the foot together and aligned it to the end of the leg.
 At this point I was not completely happy with the leg due to the join with the foot. The length of the capsule was too short as when I moved the foot closer it would be out of proportion to the body. So instead I selected all the vertexes at one end of the leg and moved them to lengthen the leg.
 After re-aligning the foot with the leg I felt that now the foot was out of proportion and so used the scale tool to change the size. When I was satisfied I grouped the foot and leg and aligned it to the body.
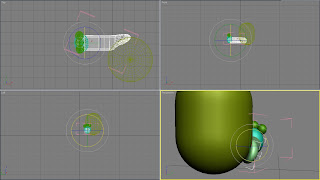 Next I created the arm, once again using a capsule. I then used the soft selection and scale tools to flatten the outside at the bottom of the arm to create the hand.
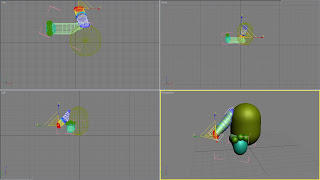 The last step was to create the head. To start I crew out a sphere with a radius of 16.392 so it was proportional to the body. I then created a second sphere with a radius of 10.616 for the muzzle.
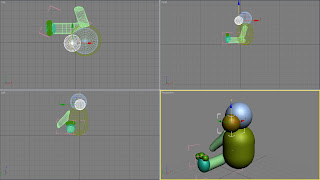 Next I made the second sphere into an editable poly and flattened the top and underneath. Also I scaled and moved it to get the size I wanted. These processes were repeated several times until I got the exact shape I wanted. Whilst doing this I was careful not to over-work the shape and make it unrealistic.
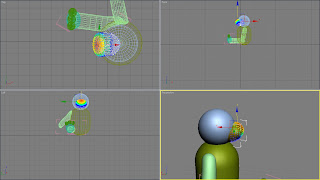 At this point I was pleased with the bear’s appearance so far and so went on to create the rest of the face. First I created an ear and to do this I drew out a sphere with a radius of 6.507 and made it into a hemisphere. Afterwards I cloned the shape and aligned them to the main head.
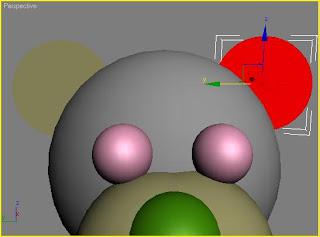
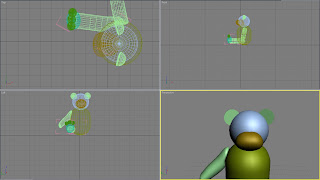 Next I went on to create the eyes. For this I drew out a sphere and changed the radius to 3.293. I then placed the sphere above the muzzle, created a copy and placed it symmetrically on the other half of the face.
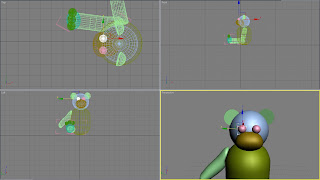 Lastly I created a nose. I also used a sphere for this and set the radius to 4.88. Next I aligned it to the head and placed it partly submerged in the muzzle. I am really pleased with the way the shape has become a slightly longer sphere.
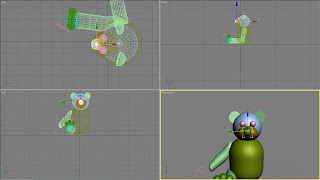 The last step in creating the teddy was to reshape the body as this was the only part I was disappointed with. I converted the capsule to an editable poly and selected the soft selection tool. Firstly I flattened the base and made the chest flatter while keeping the tummy round.
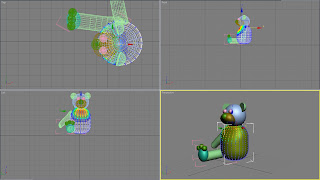 Next I selected the middle vertexes and made this area wider using the scale tool. During this I concentrated on flattening the base, making the chest flatter while keeping the tummy round. Also I made the back slightly wider to create a rounder shape overall.
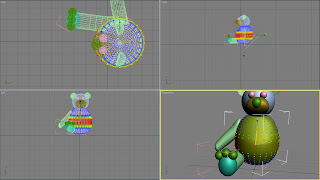 Finally I applied mesh smooth to the body with the iteration value of 1 and softness level of 1. The modelling was now complete and so I moved on to adding the bones.
 At the beginning of the week I thought about the best way to apply bones to the characters and so I am going to work from this plan for creating the teddy bears bones. Firstly I created the arm bones by drawing out a set of 3 bones with the IK limb solver; a shoulder, an arm and a hand. I drew them out next to the arm I modelled to help me with the proportions.
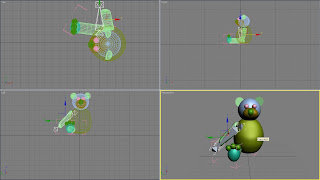 Next I placed it within the arm and selected the skin modifier from the modelled arms. I then selected the bones to attach to the skin.
 Afterwards I went on to create the leg bone, once again with the IK limb solver. I used a similar method to before as I concentrated on drawing bones which were in proportion to the leg itself. I started by drawing out the hip bone, then the leg and then the foot bone.
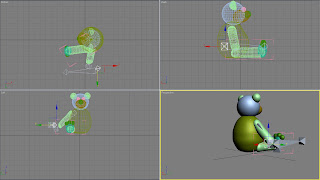 I then aligned the bones within the leg and selected the leg I modelled. Then I selected the skin modifier and attached all the bones in the leg. After this I tried to move one of the legs, but this did not work properly as I had forgotten to edit the envelopes.
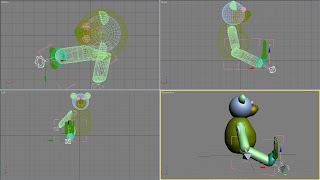 The next step was to edit the envelopes. On the arm bone I made sure that the envelope was in shades of red and orange so the whole of the arm would move with the bones.
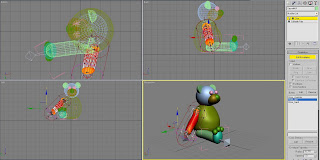 I then repeated this process for the leg bone so the whole of the leg also moved when the selected bone was repositioned.
 Lastly I cloned a copy of the arm and leg along with the bones. Next I mirrored these shapes along the y axis before aligning them to the body so it was symmetrical.
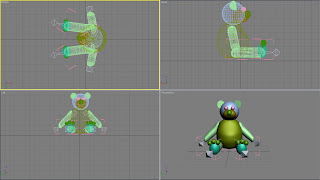 Now the bones are drawn and attached to the limbs I will finish off the bear by adding materials. Firstly I will create a material for the majority of the body. To do this I found an image of teddy bears fur in the internet.
 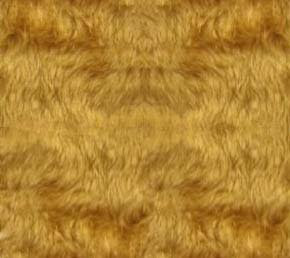 I set the bitmap as a diffuse map and set the tile size to 1 for both the U and V axis. I was pleased with the material until this point, but once applied to the surfaces the joins of the material was quite obvious.
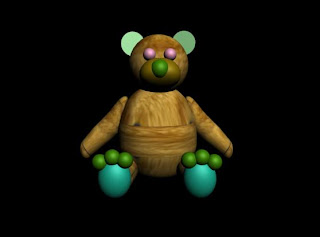 Due to this I selected UVW mapping from the modifier list and, after trying them all, selected the spherical map. As I was happy with the material I applied it to more of the bear.
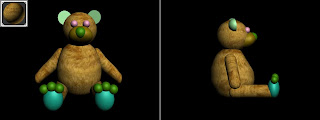 Next I created a second material for the bear, this being a lighter shade of brown. I created this with the blinn shader and set the specular level to 0 and gloss level to 10. When I was happy I applied it to the muzzle.
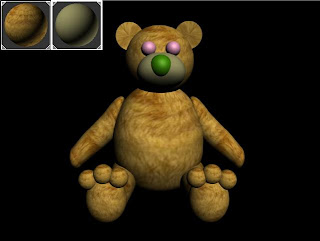 I also wanted to apply this material to selected areas of some of the shapes and so converted these shapes to editable polys. Then I selected the polygon icon and selected some of the polygons on these shapes. Once selected I was able to apply a different material to these areas.
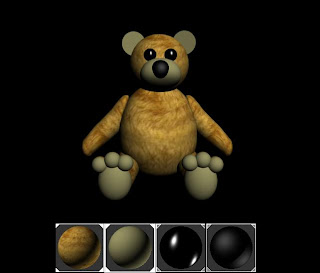
Afterwards I went on to create the material for the eye. For this I used the diffuse colour of black and chose the anisotropic shader as I felt this would be the best way for me to create a glass-like material. I set the specular level to 100, gloss level of 10 and anisotropic value of 50.
Finally I created the material for the nose. I wanted to try to create a material which was silk-like thread. Therefore I selected the blinn shader and set the specular level of 30, glossiness of 10 and softness of 0.1.
No comments:
Post a Comment