To start I selected the roundabout and turned on auto key. I then set key frames so it lifted upwards before rotating around on its axis’s. I wanted the rotation to last the whole length of the timeline after it had risen and so movement continued until the end of this section.
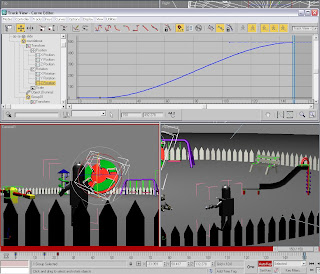 After watching it I did feel the need to make some slight alterations in the curve editor so the rotation in all directions were at roughly the same rate. This allowed different parts of roundabout to become visible to the viewer in turn.
Next I created the movement of the swings. Before starting I selected auto key and the rotate tool before moving to the required key frame altering the swings position. At first I found the rotation point was in the wrong position as the chain came apart from the top of the frame. Also, not all of the chain links were in the group.
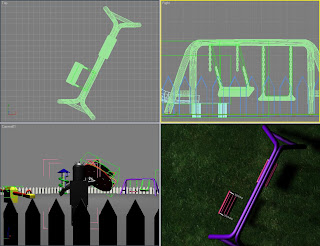 To resolve these issues I added the chains to the group and moved the pivot point to the top. I then tried to animate the swing again, this time I managed it successfully. I made sure the speed of swings was continuous by always adding a key frame every 10 frames. I then repeated this for the other swing, but always set it to swing alternately.
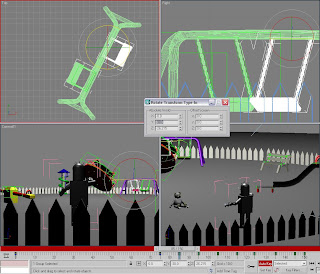 Afterwards I went on to animate the growth of the bear. To start, I selected auto key and used the scale to increase the size of the bear drastically between the 105th and 112th frames. This went well and so I moved on to another part of the animation.
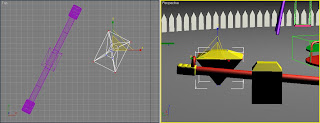
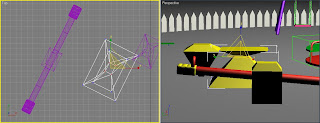
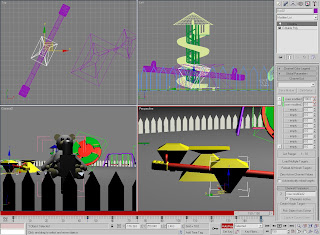
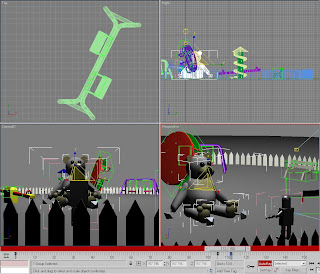 The last shape change was to occur on the see saw. I decided to leave this to last as I felt it would be the most difficult. To begin I selected the central block of the see saw and made in into an editable poly.
Next I cloned a copy and used the scale tool to change the shapes appearance. Firstly I decreased the size of the bottom and then increased the width of the middle section.
No comments:
Post a Comment